

So you’ve decided that you want some pics of your Golden Retriever. You can use your phone camera or (preferably) a good DSLR (Digital Single Lense Reflex) camera but either will work.
Let me start by saying I am not a professional photographer. Terri and I did some black-and-white 35mm photography and had our own darkroom in high school but color DSLR digital photography is new to me. I decided a few months ago that I wanted to get some good pictures and found a really good deal on my camera and lenses and have been learning ever since. I found out however that there is just not a lot of good advice out there on Pet Photography and struggled to capture decent pics so I thought I’d share my experience.

I asked a friend that has mad photography skills to take a few pictures of Harley and River one time and watched him, it was amazing how much I learned in that few minutes of snapping pictures. Since that time, with some practice and experimentation, I’ve managed to turn out a few decent shots and I’d like to share my learning.
In my experience so far, posing Golden Retrievers for pictures is painful at best and almost always requires help. The animals just don’t get it and want to play and if you use an assistant to help pose them, the assistant almost always ends up in the picture. For those reasons, I seldom pose them. If you want to do that, more power to you but that’s not what I’m writing about today.
Camera Settings
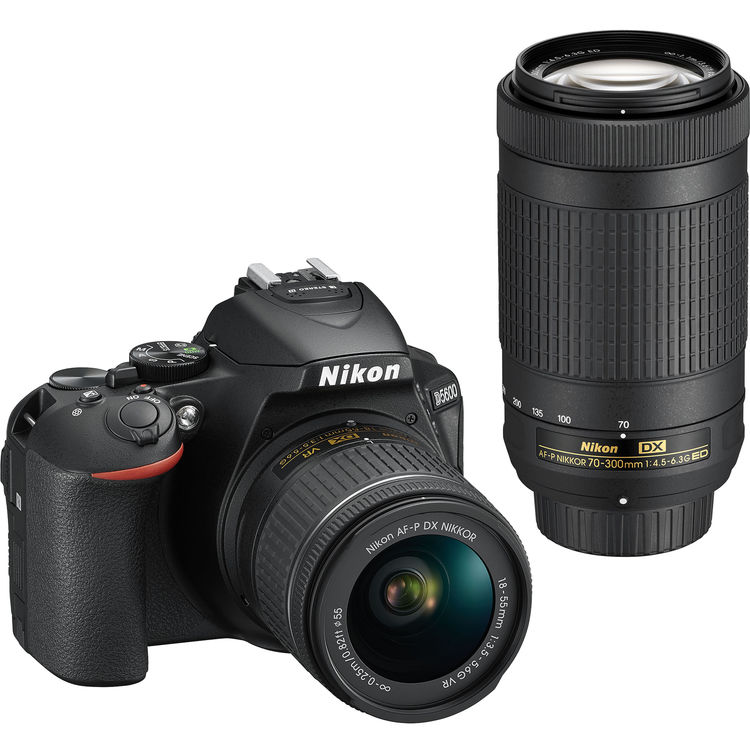 For the purposes of today’s discussion I’ll be describing how I do it with my Nikon 5600 using a basic 70-300 zoom. It is absolutely possible to get great pics with your phone or travel camera but I’ll leave those settings for you to work out.
Sho0t in RAW mode if your camera supports it – always; this bit is VERY important if you plan to do any post production editing at all. Think of RAW similar to a recording studio mixer. The mixer captures all the different layers and instruments and can adjust them on the fly to generate the best possible recording. With RAW photography, the output image still has all the different layers captured by the camera so that they can be individually adjusted in post production (more on this later). If you only shoot in jpg format, all the layers are stripped out to save size and editing later will always incur a quality reduction and have very limited capabilities. I typically shoot in high quality jpg + RAW so that I can get both but this chews up space on your SD card so get a big one..
Use auto-focus; almost always. Golden Retrievers move, it’s what they do. If you are constantly trying to adjust focus you will miss that one shot you would have loved.

If your camera supports it, set it to rapid-fire pictures (hold the shutter button down and it takes many pictures in succession).
The picture themselves are free so you can’t take too many (SD Card space permitting) and this will let you choose from the many action/moving shots you took. Nothing is more frustrating than missing the one perfect shot because you timed the button press wrong.
DSLR cameras have many automatic modes and I’ve played with them but I now prefer to stay semi-manual. To get that pretty blurred background I work in Aperture Priority mode with a low F-stop (the lowest I can get away with), zoom in and try to keep the background relatively far from the pet. Try to set your ISO so that you get a quick shutter speed (at least 1/300 – faster if possible) since pets are almost always moving. If you have to, crank up the ISO to get the shutter speed you need. The difference in picture quality due to a higher ISO is small but a blurred picture because their tail is wagging usually makes it unusable.
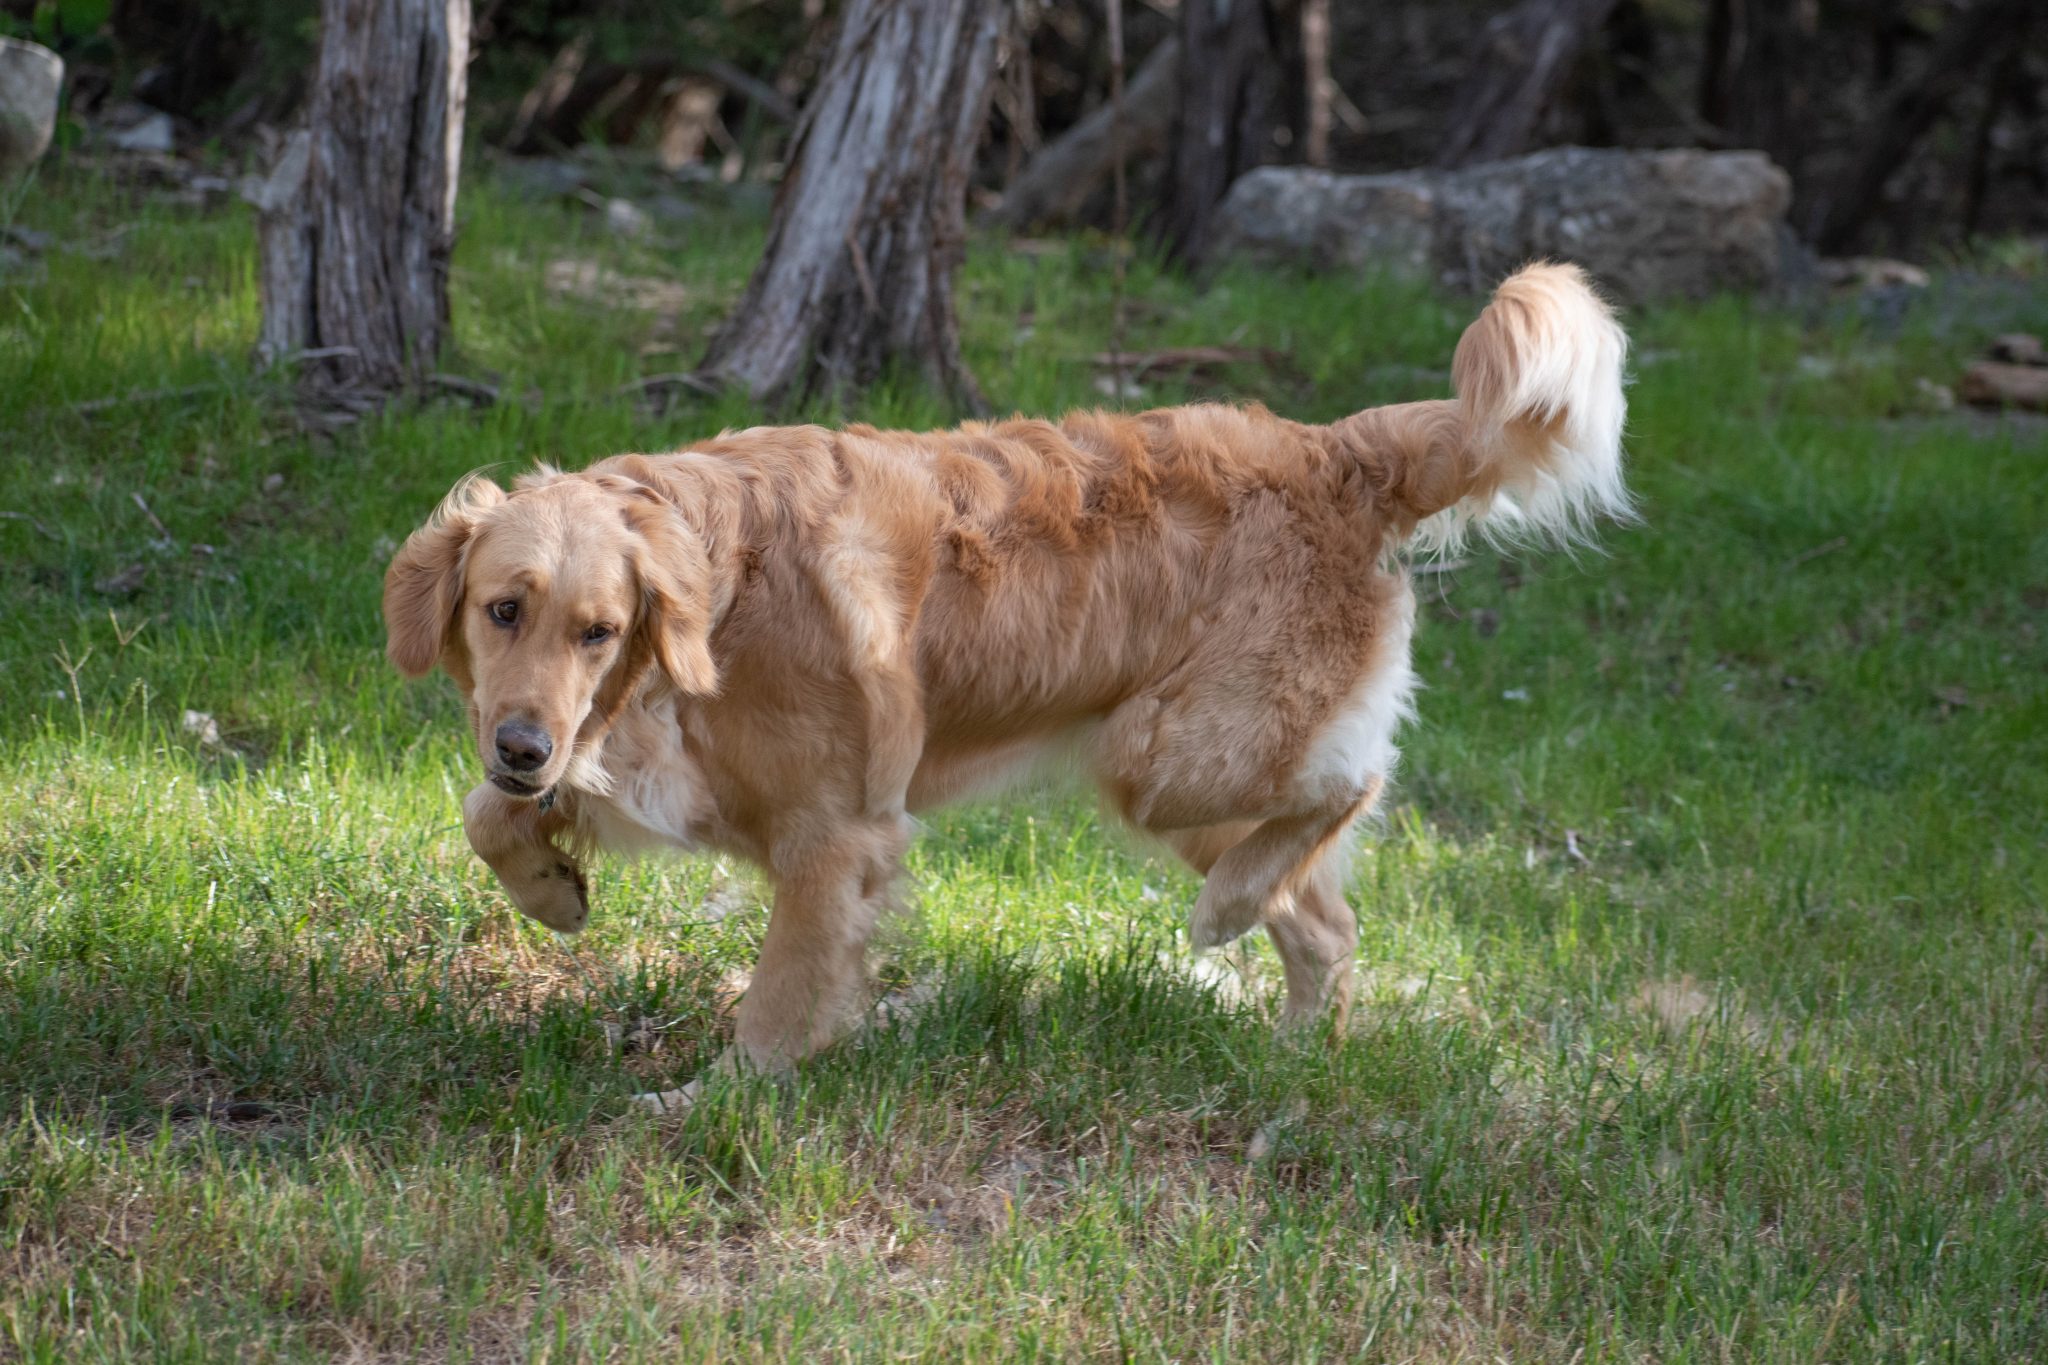
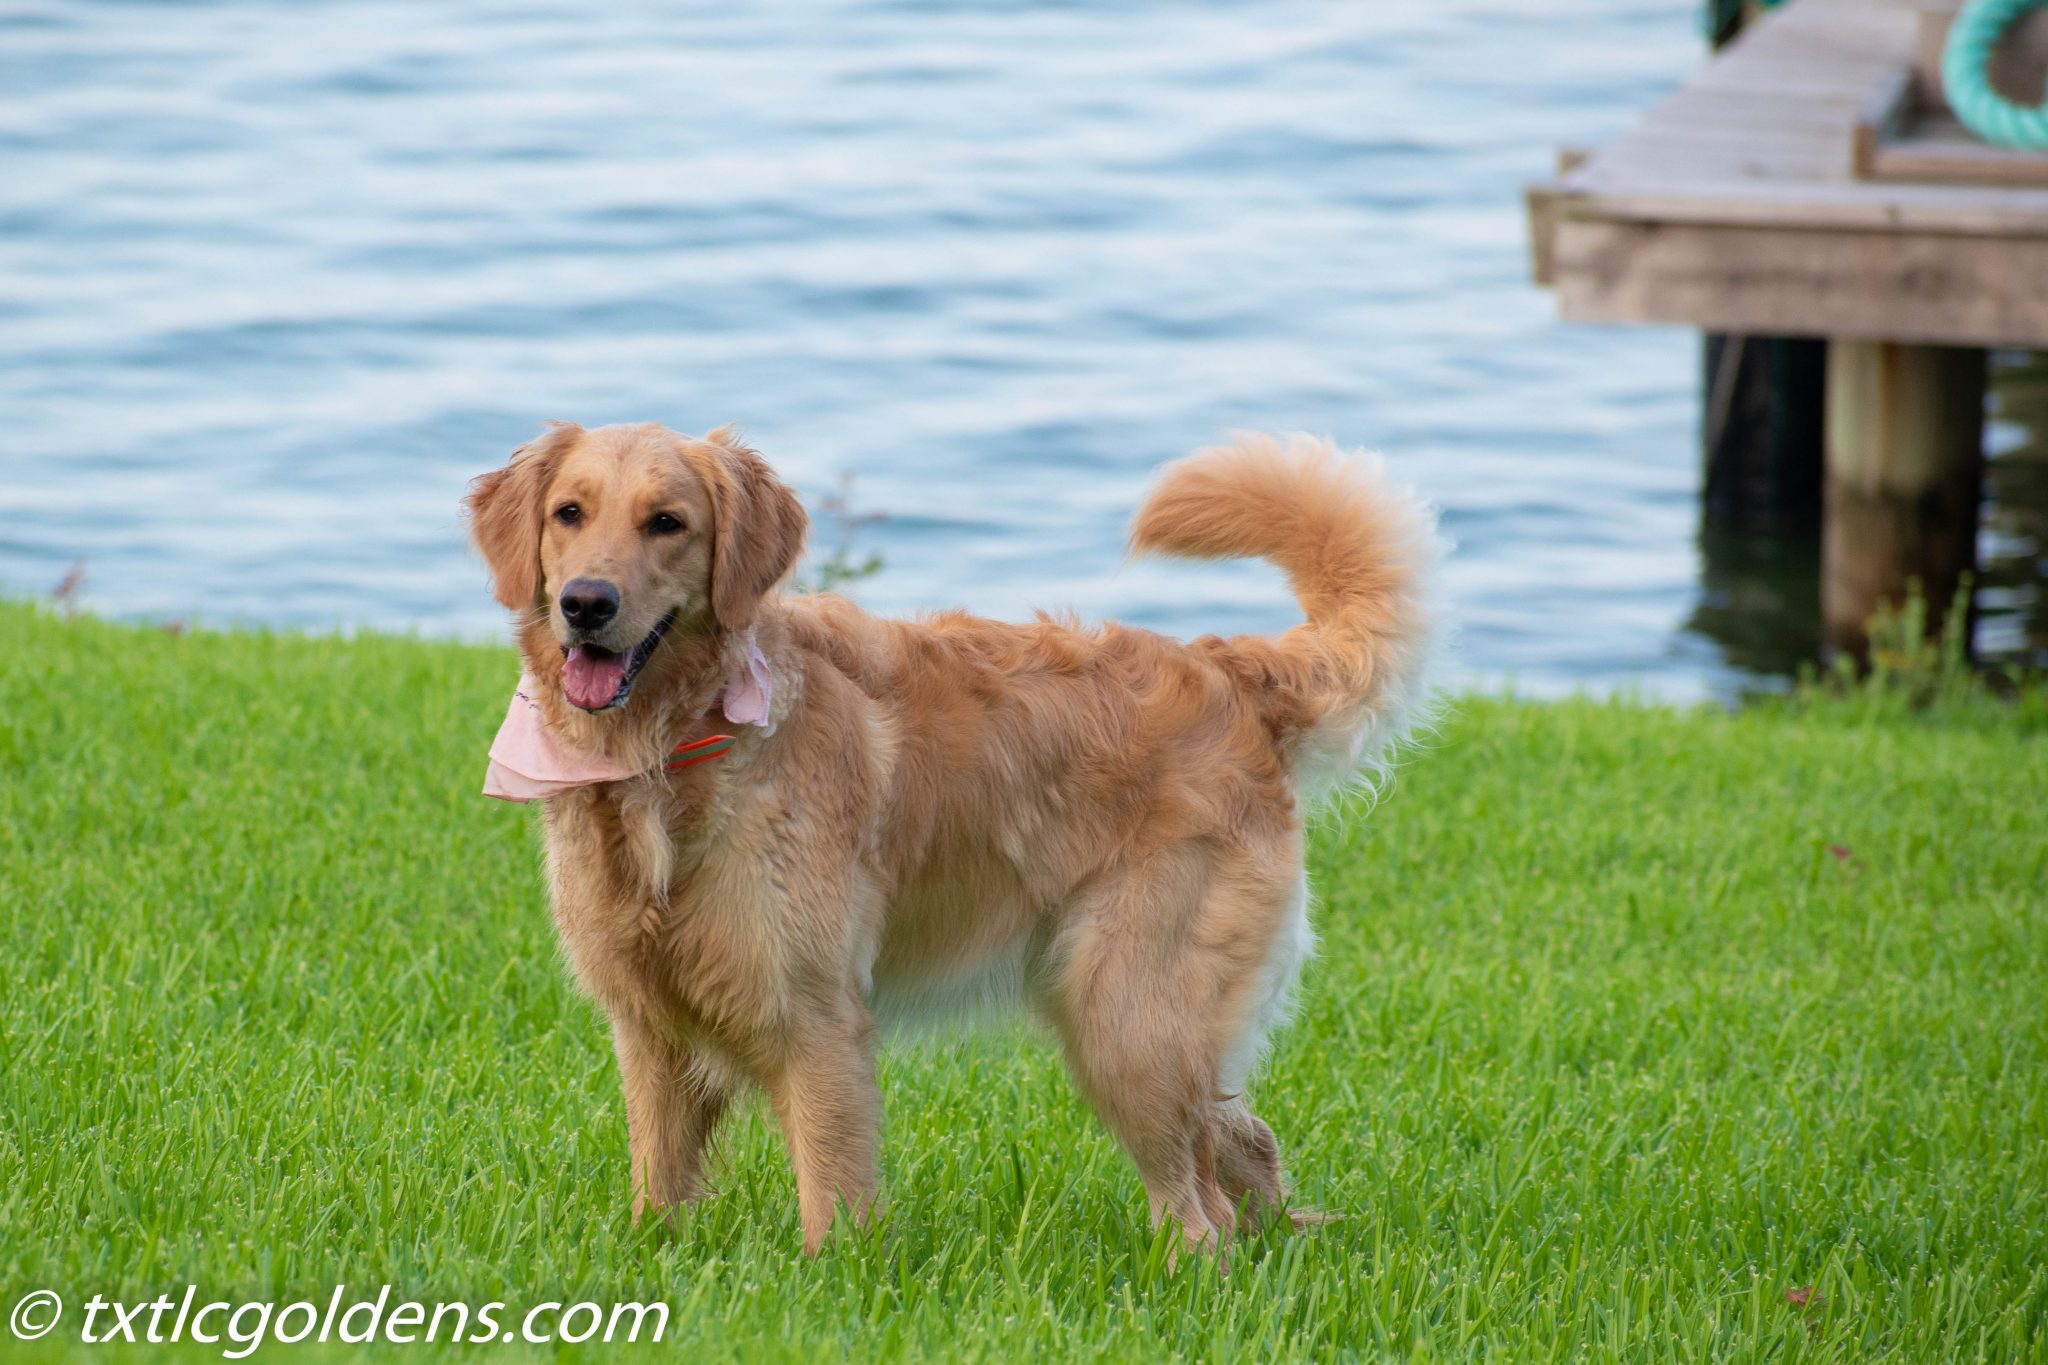
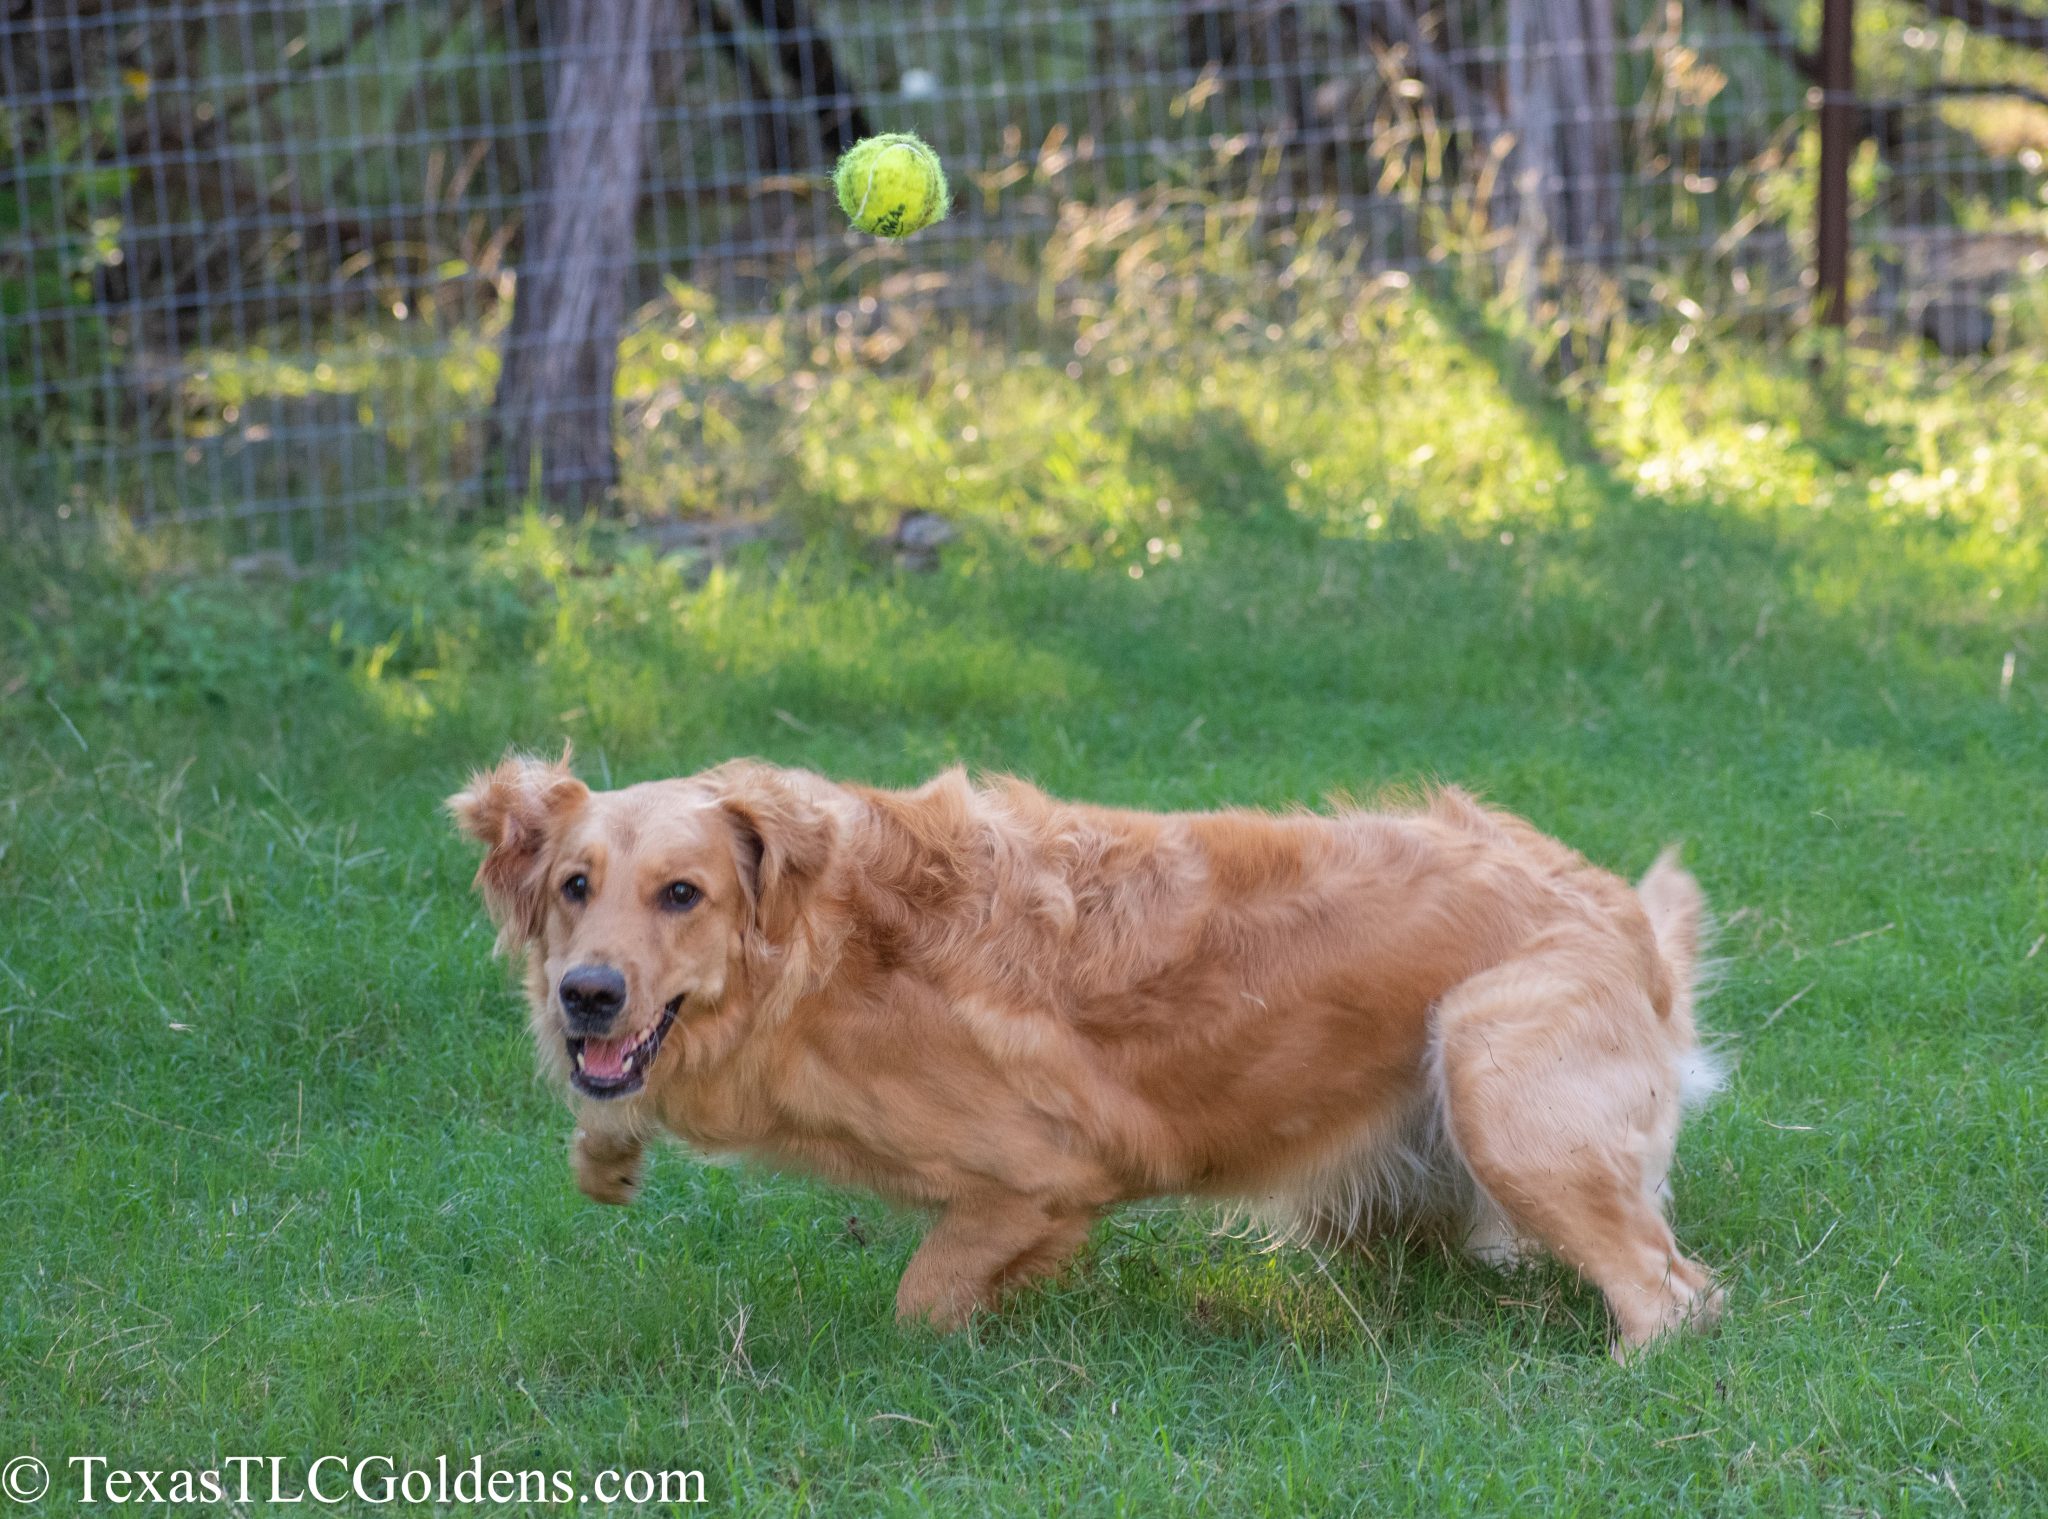
If you just use an automatic mode – chose a sports setting but blurred backgrounds will be hard to get. The example to the right was shot in sports mode. It’s nice but it would have been much nicer with a blurred background.
Setting Up the Picture
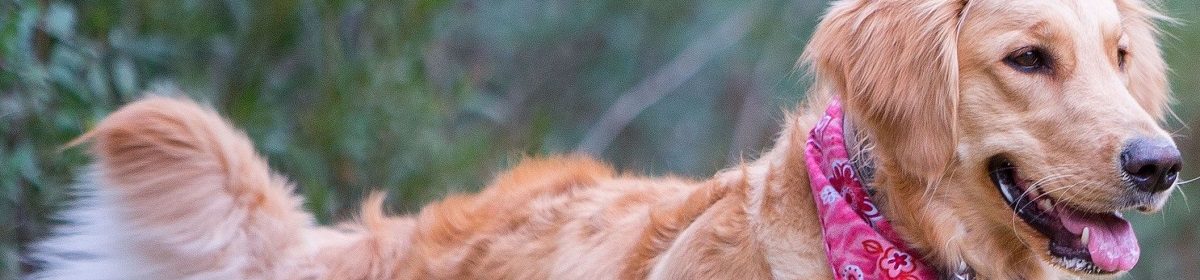
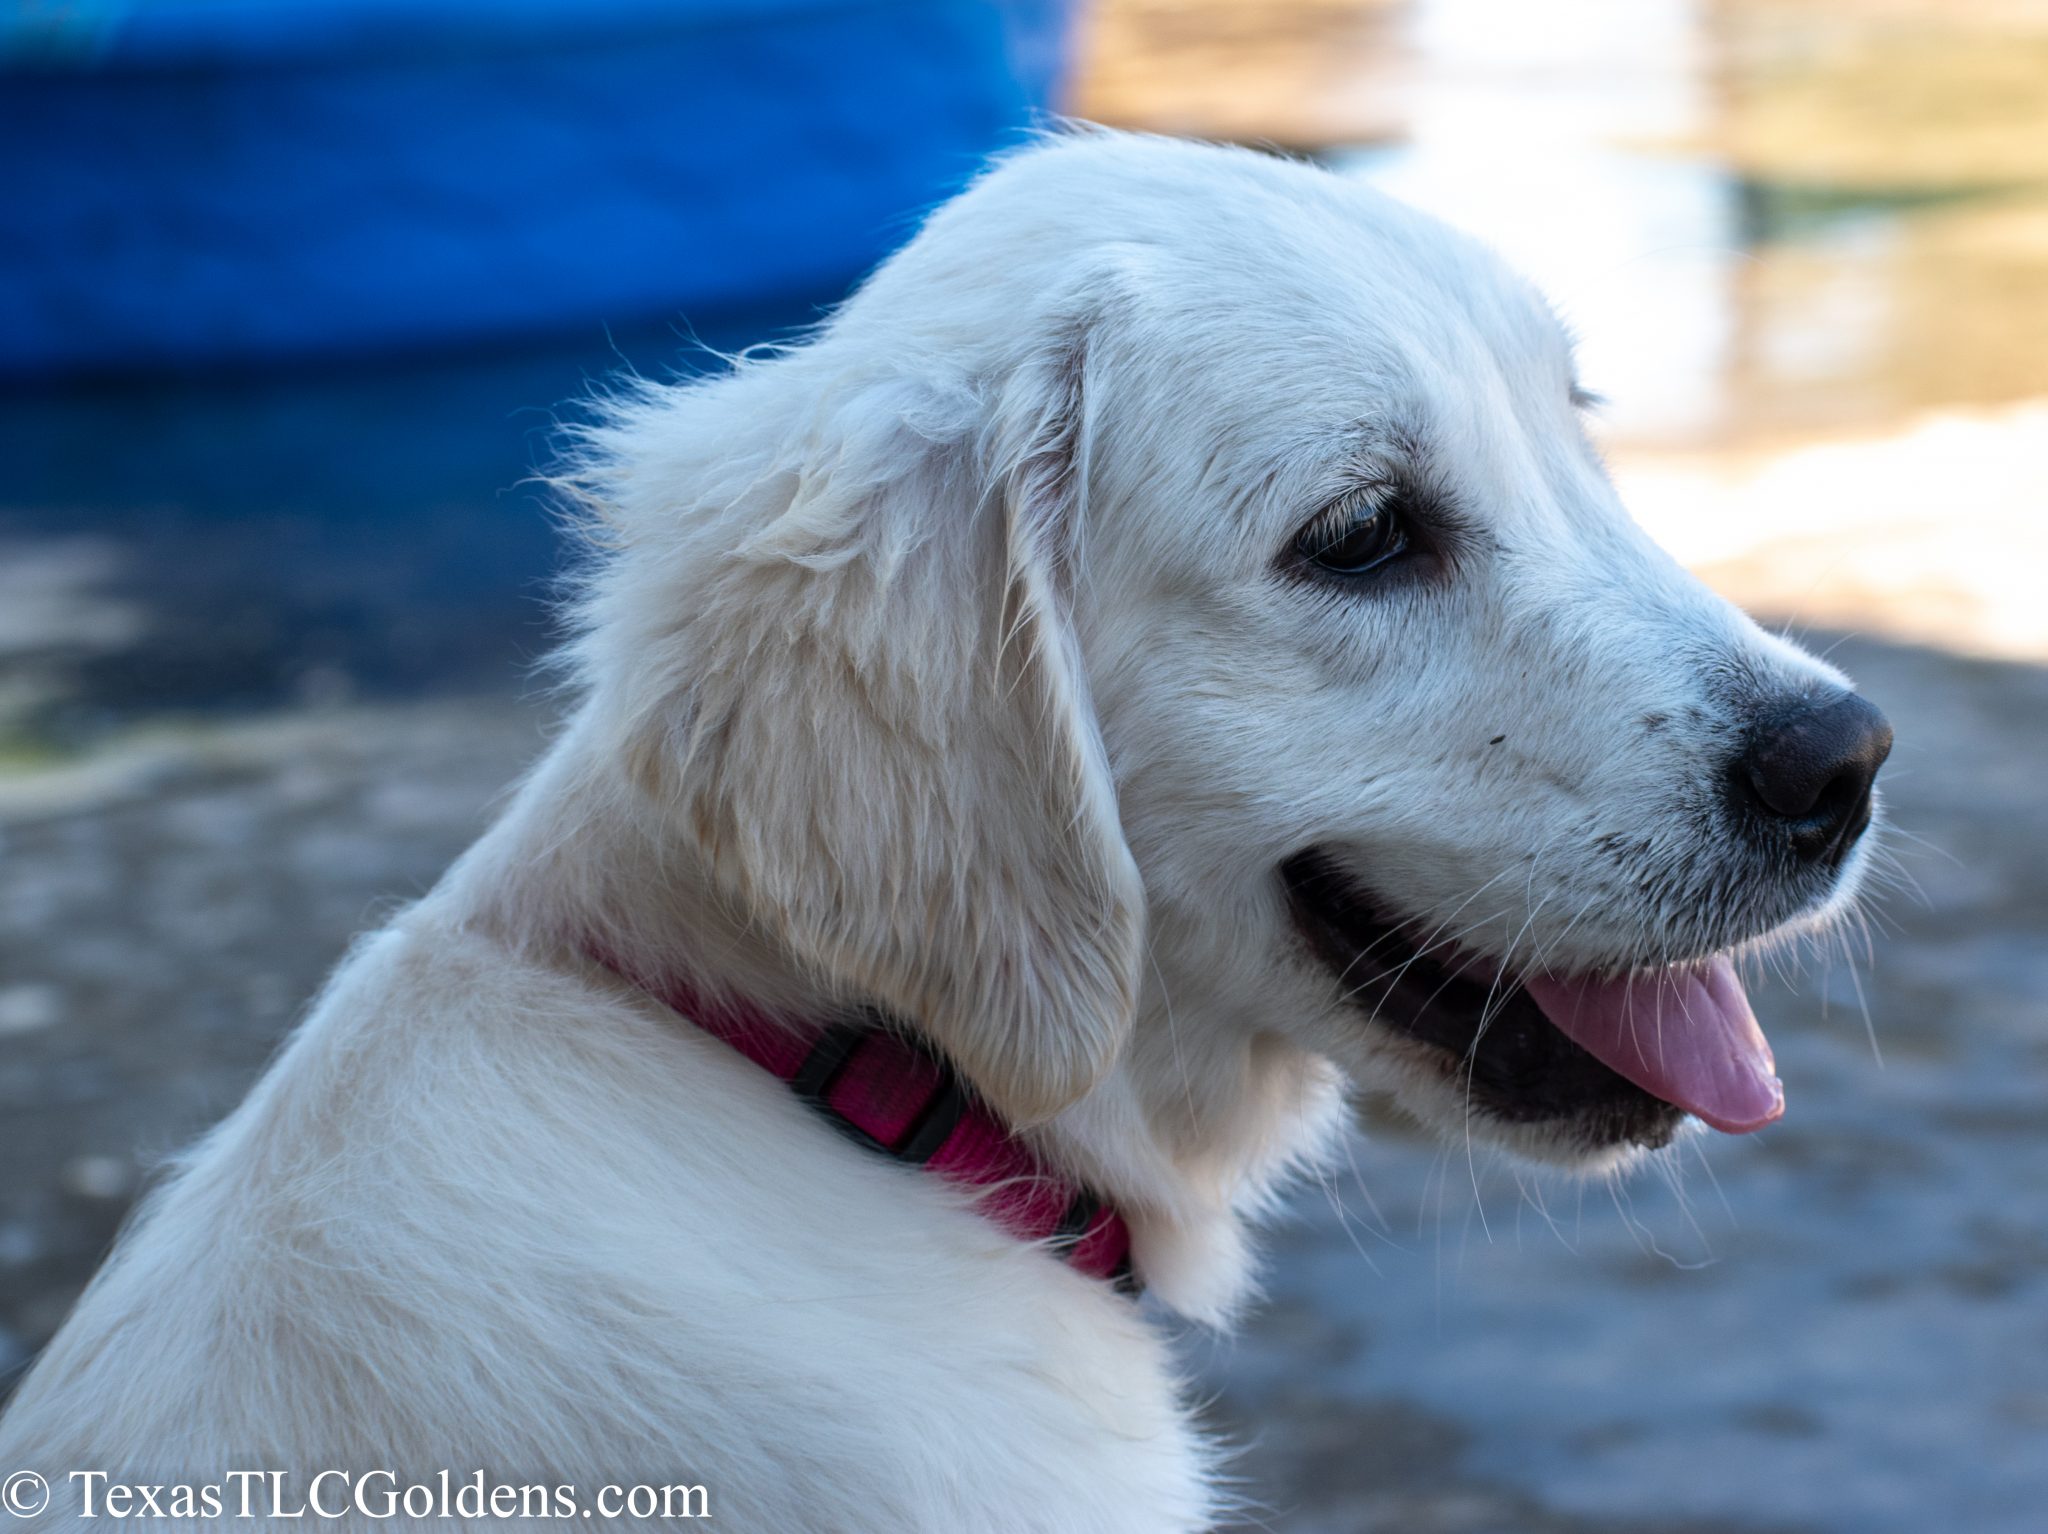
Bathe your Golden Retriever. You’ll be amazed how much difference this makes in the pictures. Whites are MUCH whiter and the feathering on your Golden will flow beautifully in the breeze. If you want to get a groomer to trim up their feathers (not shave – trim), great but we’ve not done that. I believe ours are gorgeous with their natural hair and feathering.

I try to take all my pet pictures outside. The lighting is typically better and the varied natural backgrounds work really well with Golden Retrievers. Ideally you should try this on an overcast day as diffuse light is your friend and dramatically reduces unwanted shadows.
As I said, I do not “pose” Golden Retrievers but I do get a number of pictures that appear posed; this is a function of patience, huge numbers of pictures and a good zoom.
When I go outside to take pictures I ask all other humans to remain inside. The Goldens and I go outside and of course the puppies want to play; do not indulge this. Find a good spot to sit with the light high and to your back hopefully in mid morning or afternoon and not too many distracting objects in the background…. and wait… be boring… The Goldens will tire of trying to play with you and start exploring and playing on their own; this is when the magic happens. Even if your puppy moves relatively far from you the zoom can bring them in close. Start snapping pics (digital pics are free – take a LOT), especially when they stop moving but moving pics can also be very nice.
Framing The Picture
Yes you can fix much in post production but getting it framed correctly initially can be a HUGE help.

Pay attention to “The Rule of Thirds”. If you always set the Golden up dead center in the picture it often comes out boring. Find a way to get the pet into the right or left third of the pic unless it is a close up and even then it’s good to do it at times. Don’t fret if you don’t get them positioned perfectly however as cropping in post production can often fix this as long as it’s not zoomed in too close.
 Zoom in. This and low f-stops (Wide Aperture) helps get that blurry background that most want. The focus should be on the dog, not their surroundings.
Get down low. The picture should almost be taken at the dog’s height or lower so when you set up for the session, sit or lie down.
Zooming in from a distance takes care of this to some extent but you should always get down low.
Avoid too many distinctive objects that distract from the dog. If the lawnmower or a trash can or torn up shoes are in the yard, you may want to move them.
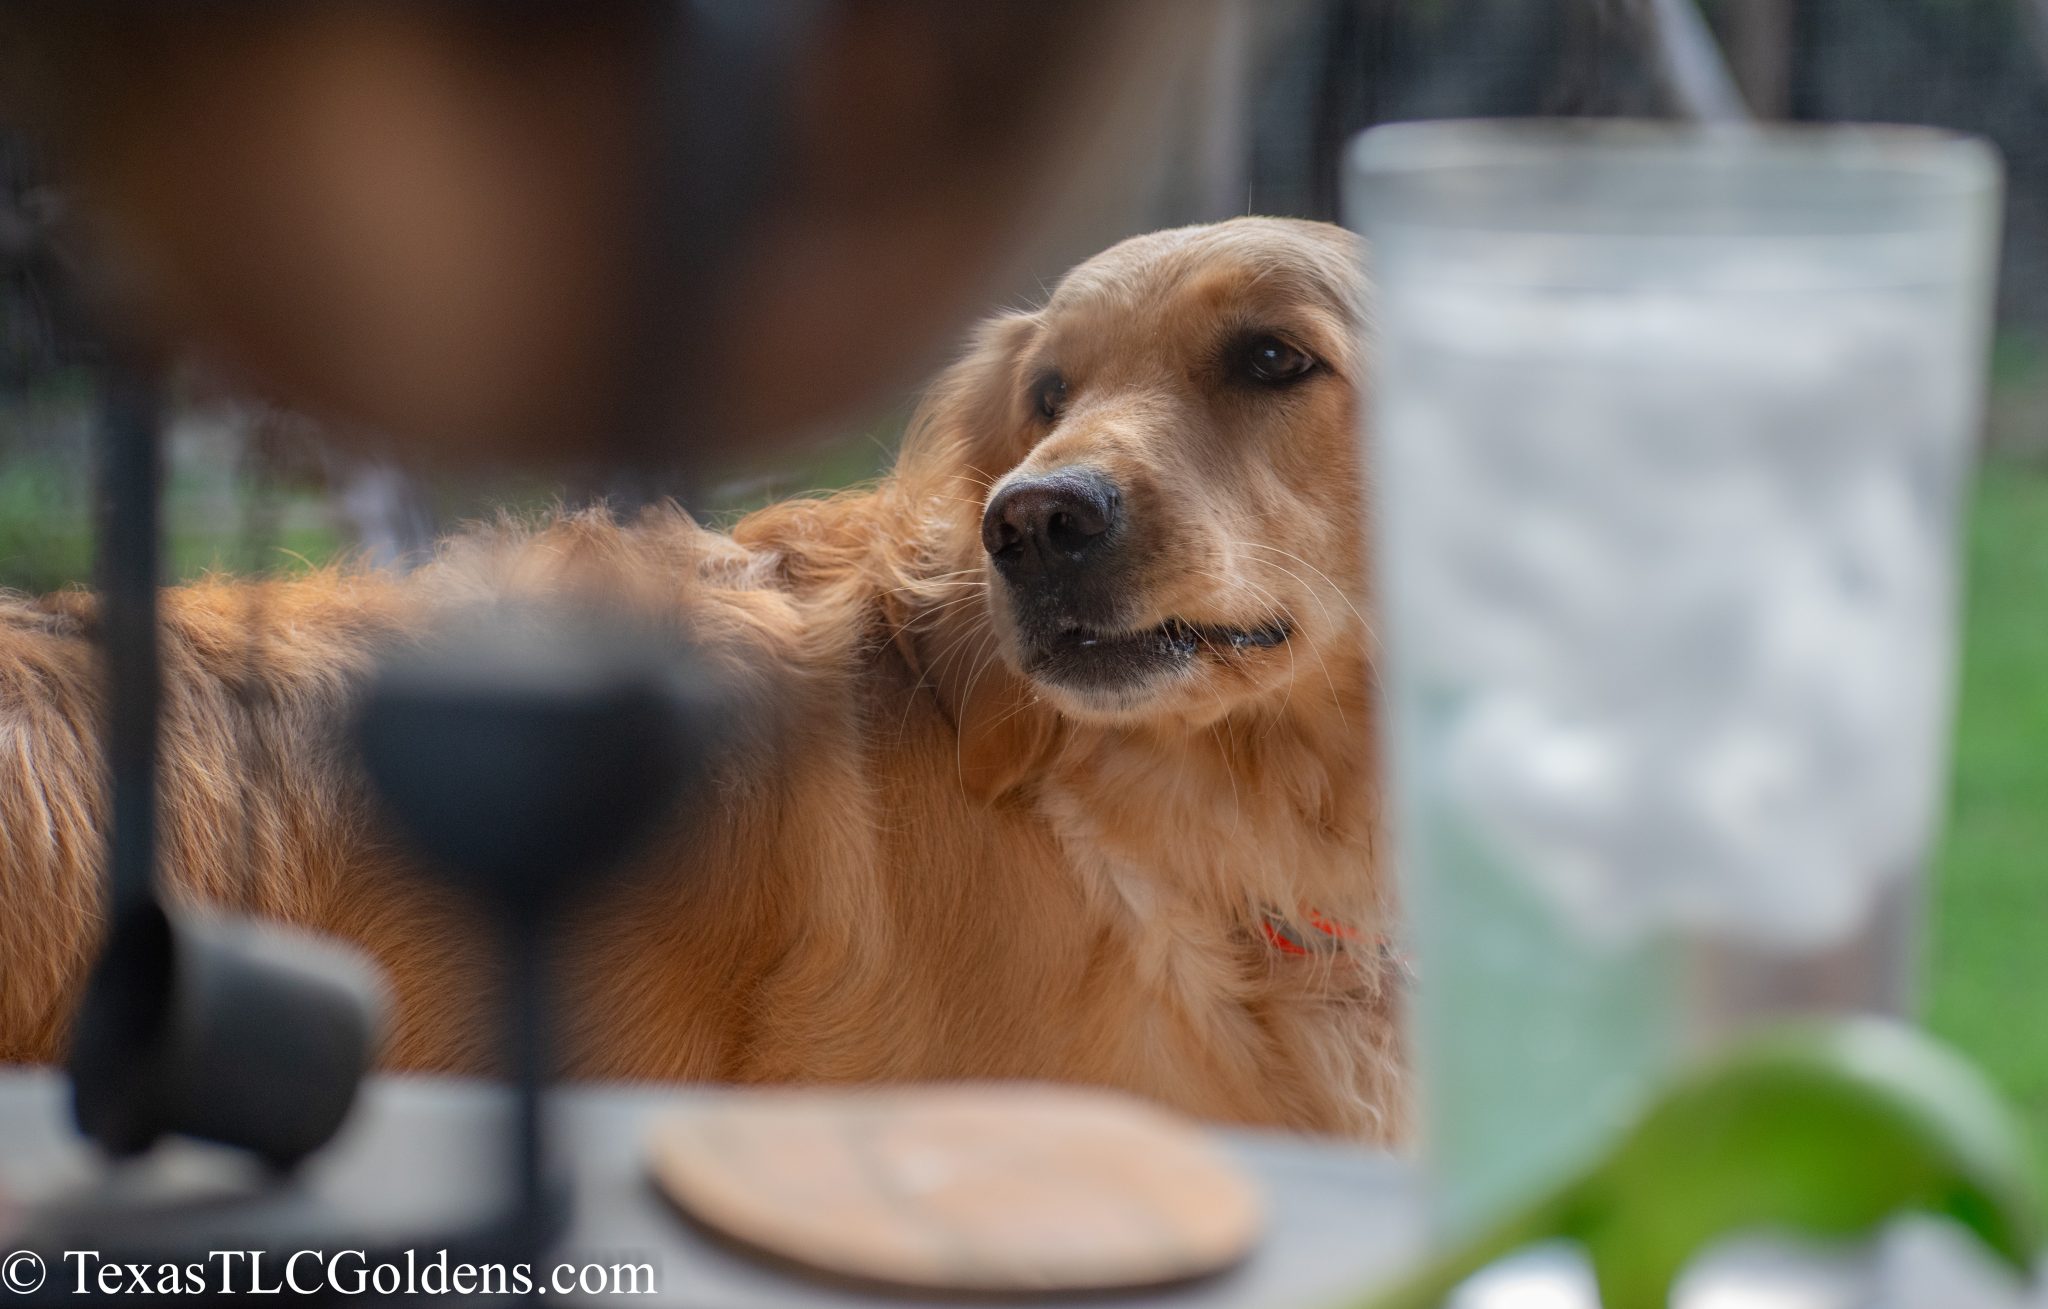
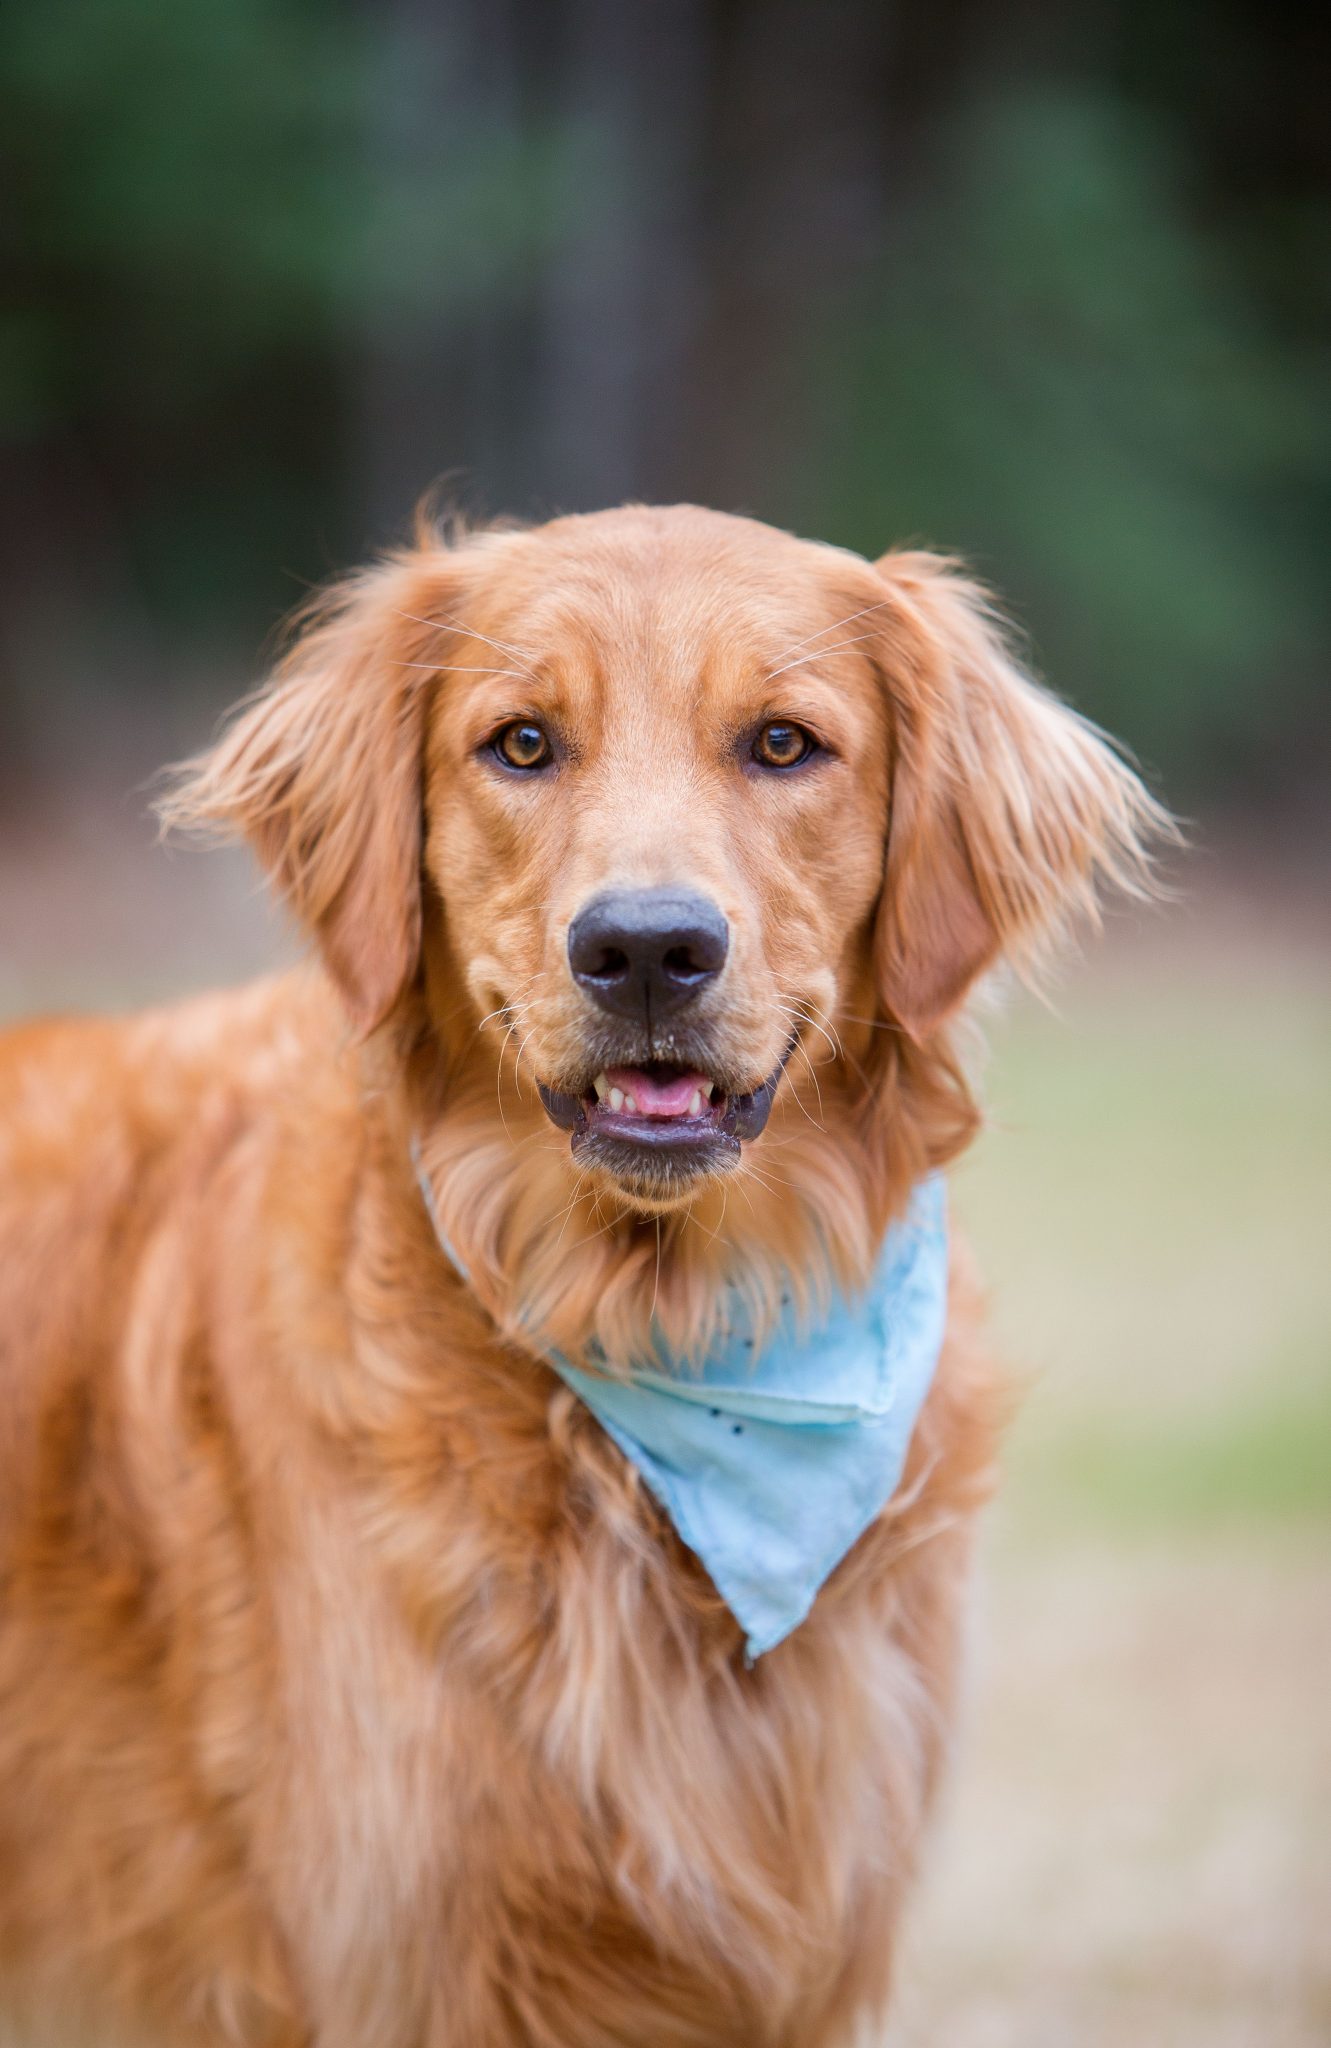
Don’t be afraid of closeups. Zoomed in head shots are often very nice and really capture the dog’s eyes and mood.
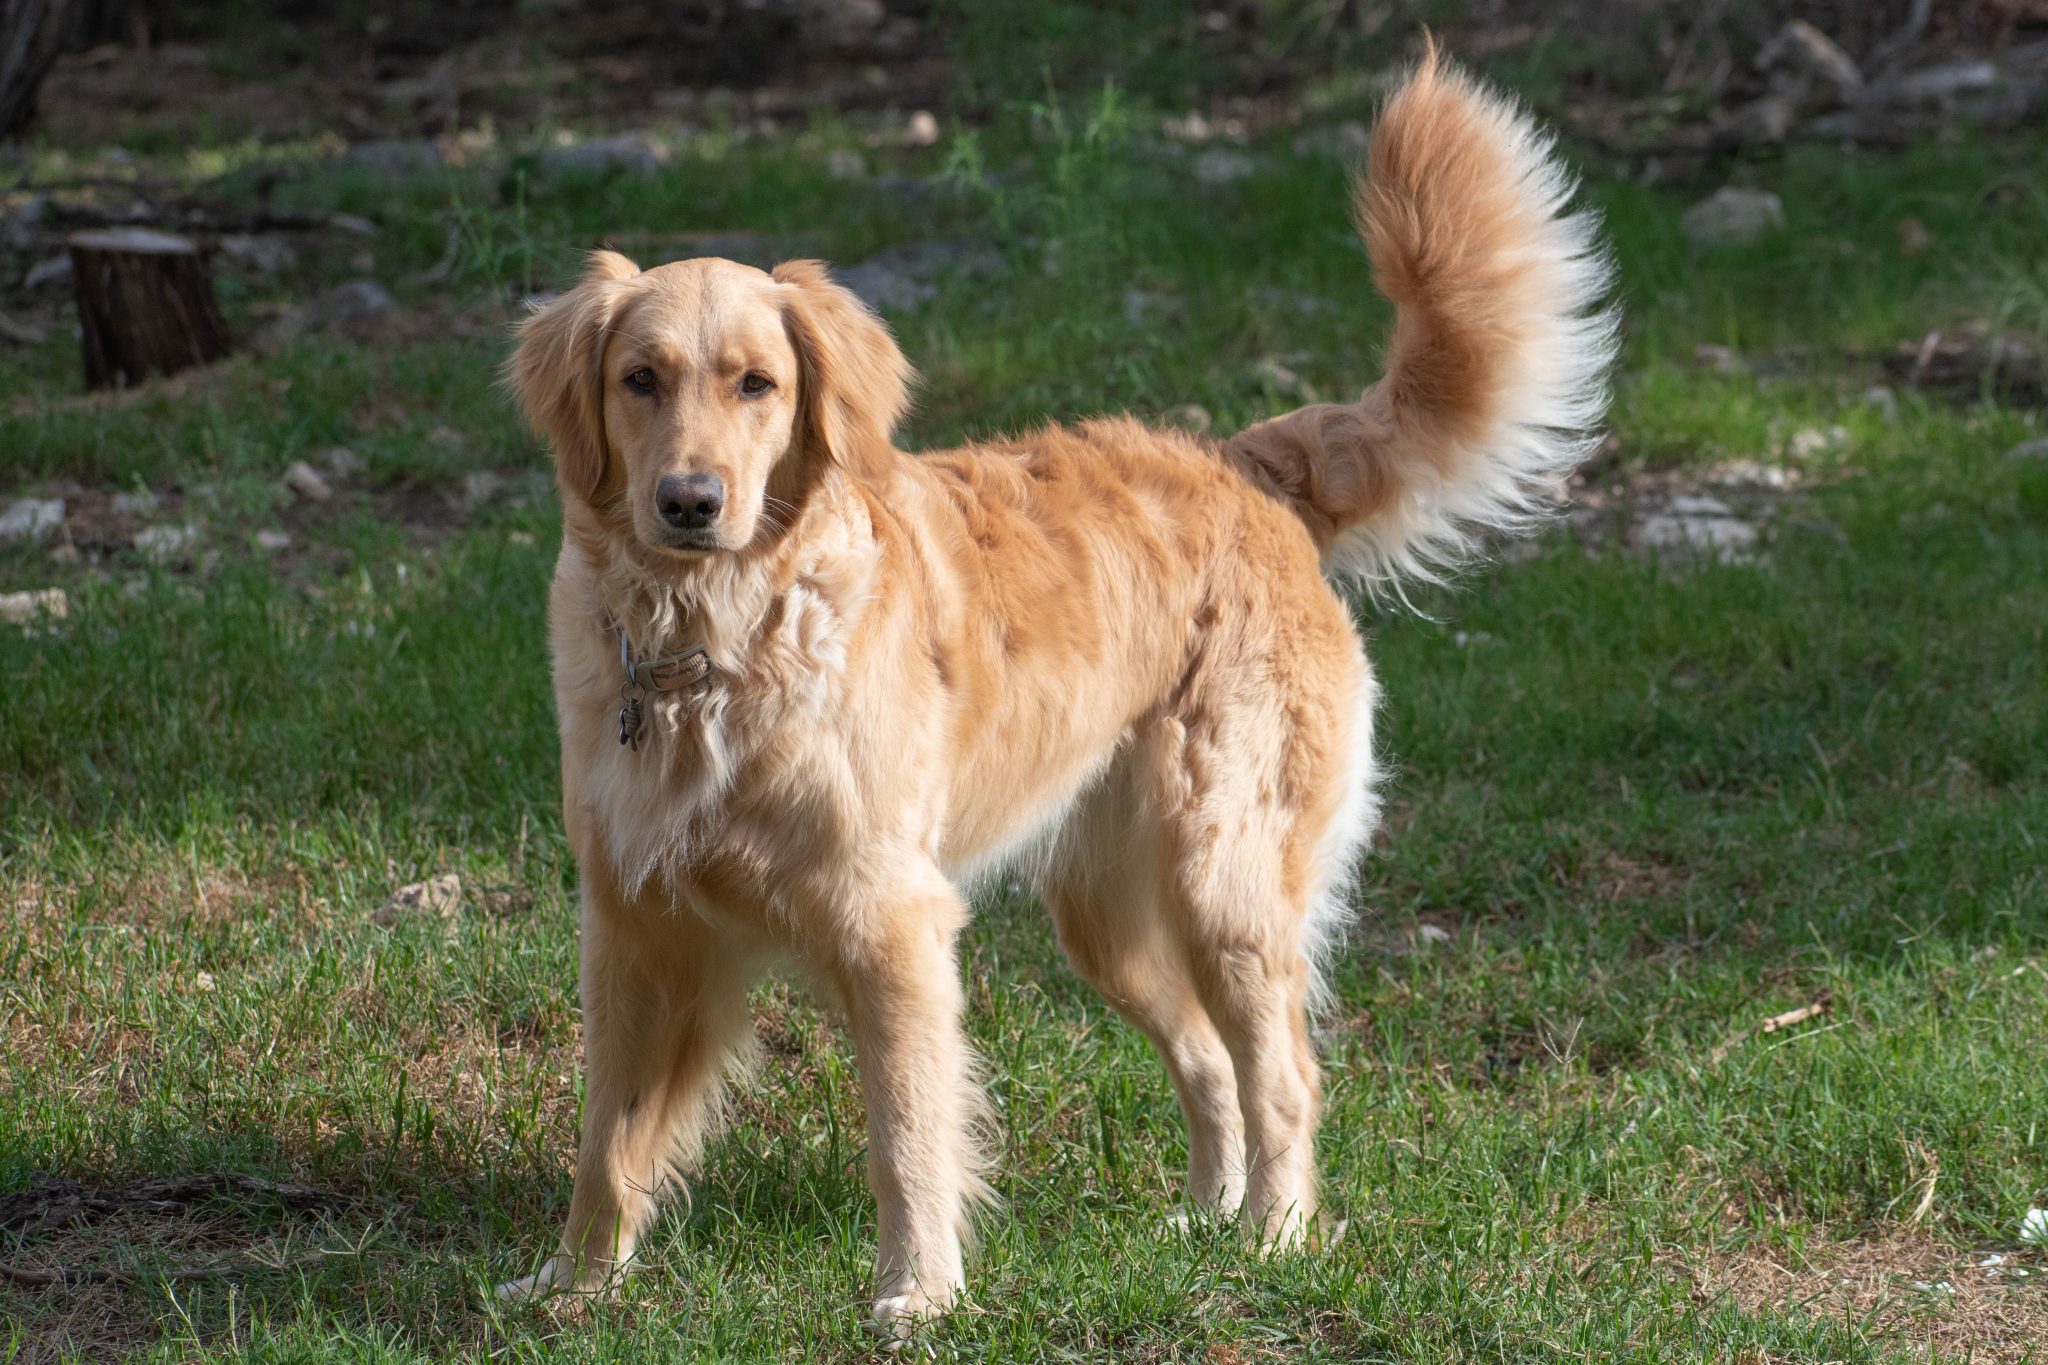
You should generally shoot broad side or head forward at an angle. Shooting the Golden’s “fancy pants” rear end typically does not come out well.
The Golden Retriever breed is a happy and expressive breed but much of that comes from their head and face.
Goldens have a beautiful tail. Try to capture the tail in the picture when you can. Back and up is best but sometimes having it swinging in the wind up high is nice as well. Oddly enough the tail is the hardest bit to effectively capture as it’s always moving and can blur in the picture. Once again; use a fast shutter speed.
 I’ve discovered that capturing or Goldens in a still photo when at a full run is harder than it sounds. They are incredibly beautiful when running but a stop action picture often just captures their floppy ears flying around at weird angles and their feet are never where you want them.
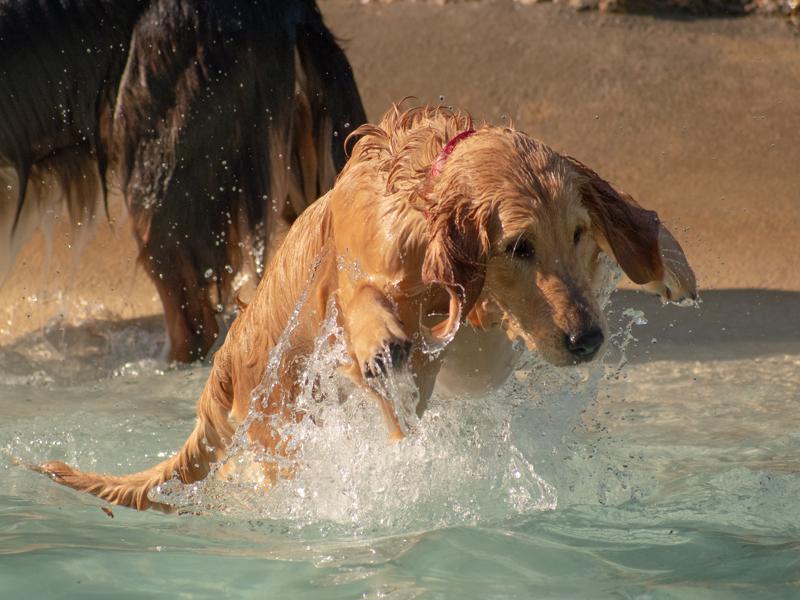
This can be a good candid photo and you may actually like it but I’ve not captured it (yet) in a way that I completely like without taking hundreds of shots and many tries. My main advice is to have patience, a repeatable activity and a really fast shutter speed (1/600 at least) and a rapid fore shutter. I continue to try on occasion but video may be a better choice for a full on running shot.
Post Production
Post production is to photography what a grinder is to a welder.
Post processing can make an average picture great and fix a lot of the things that the camera could not get just the way you wanted. It can also take a good picture and make it artsy of that is your desire. I can’t stress enough the value of post production; it can REALLY make a big difference.
I use Adobe Lightroom and Photoshop for post production. Lightroom is my primary tool as it can crop and really clean up the colors, shadows and the entire feel in the picture. The two of them together only cost me $10/month so they are relatively cheap and can be cancelled later. I use the classic versions since all the pictures are stored locally on my PC instead of the expensive cloud. Because RAW formats are licensed products from the camera manufacturers you will not find a good RAW editor for free. Adobe makes the most widely used products for this purpose and Lighroom is my friend. I currently only use Photoshop to remove that old shoe that turned up in the picture by mistake.
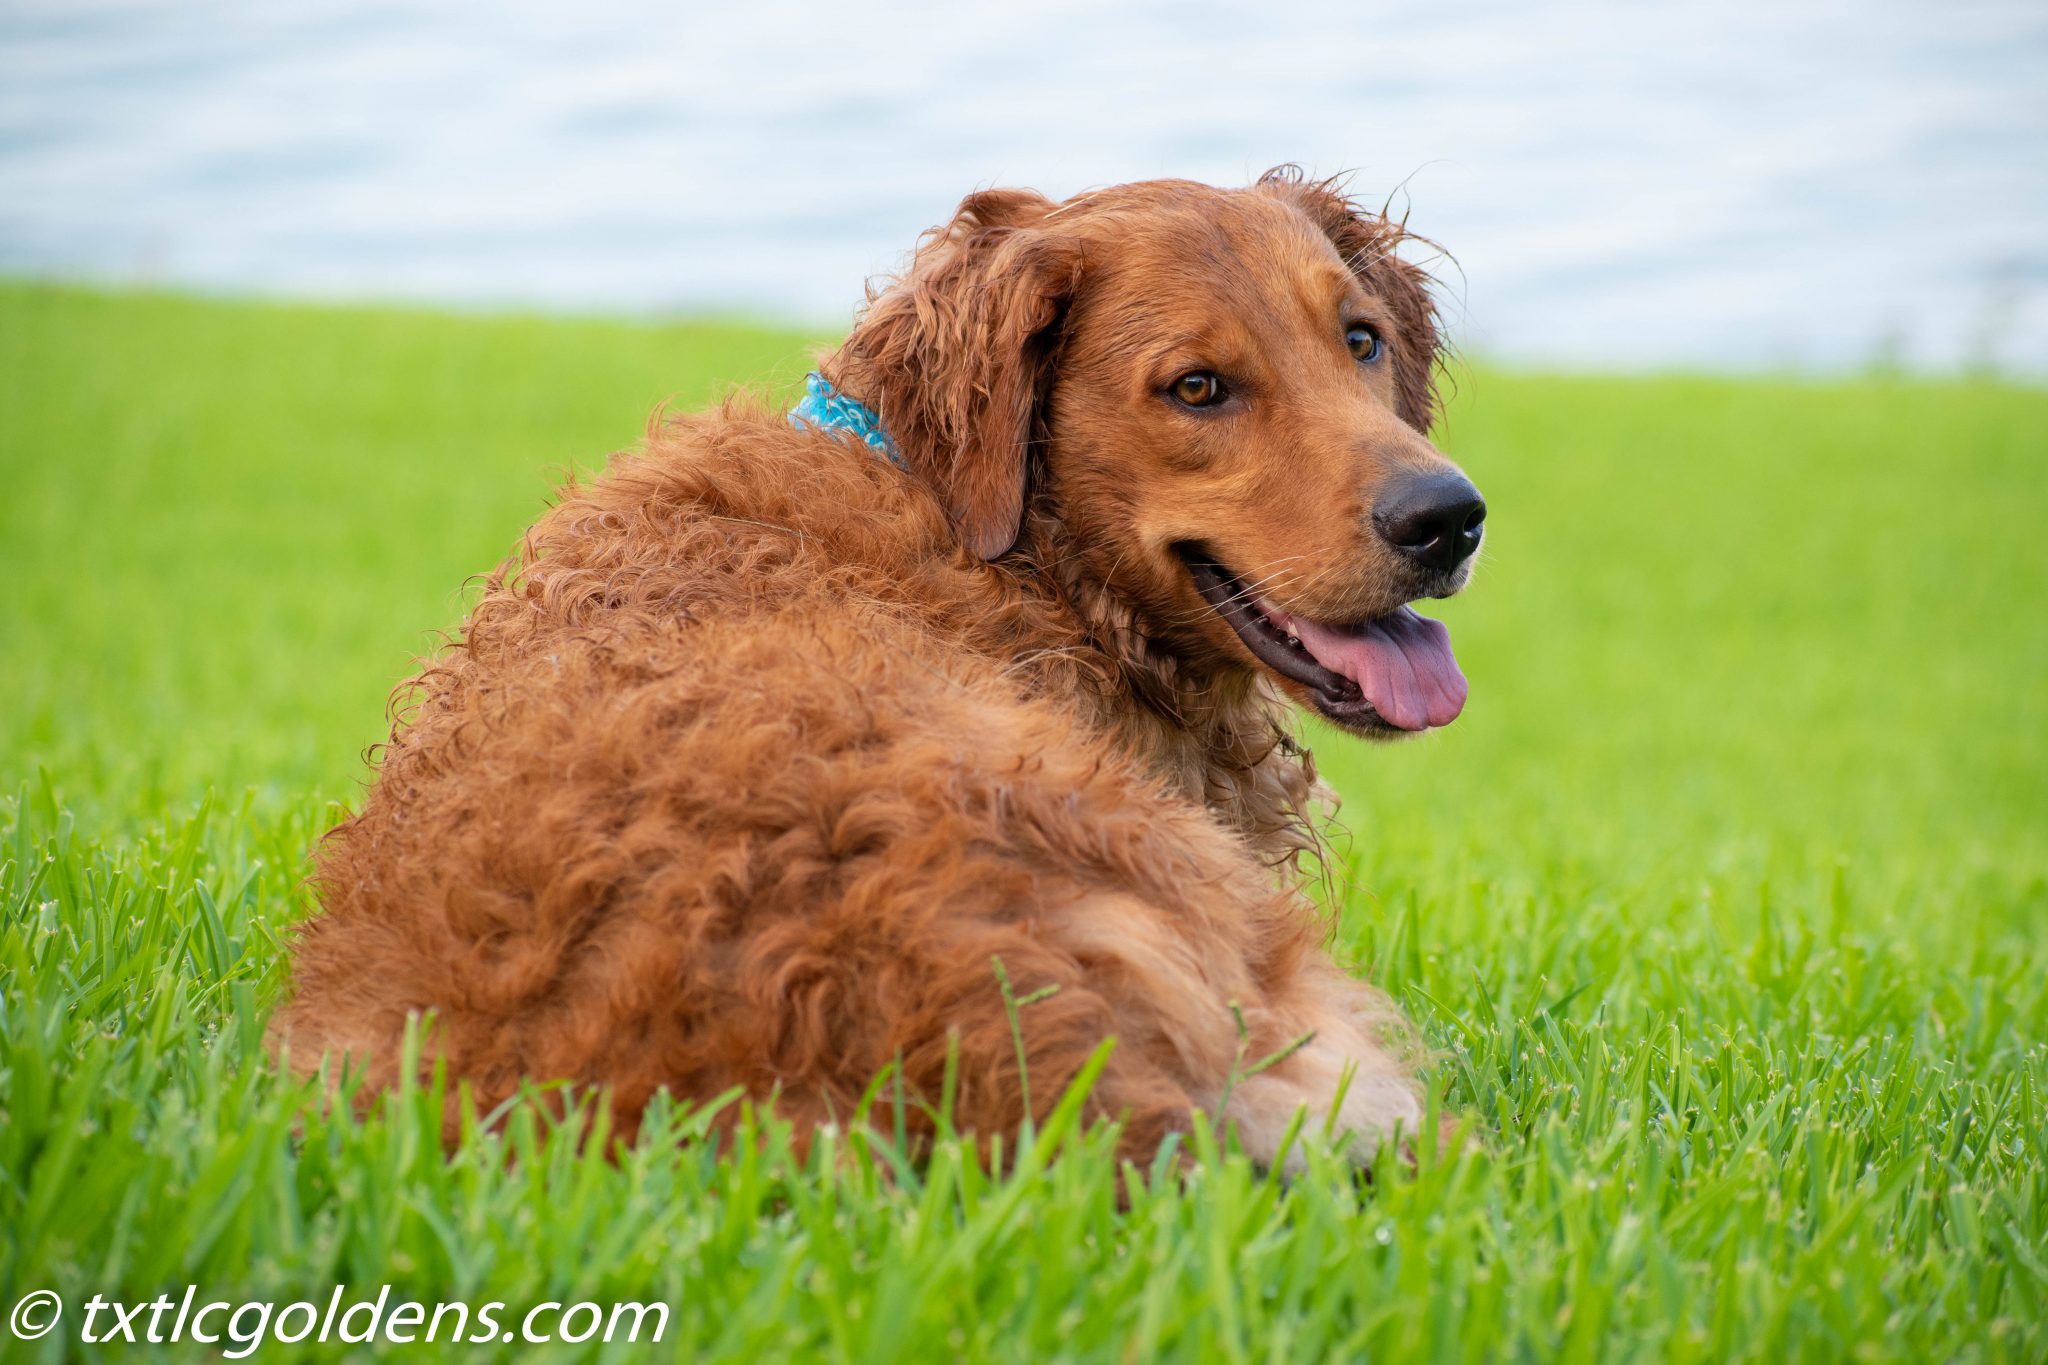
Lightroom will take some practice but the biggest sliders I use are shadows and back and white. These allow you to make shaded eyes visible and really clean up the tone of the picture. You can of course also crop which I most often do for every picture. I also step up the vibrance when the grass is not very green. I recently discovered that you can add a signature and/or watermark to you pictures as well. I am still learning what this amazing tool can do. Experiment and ask your photographer friends for advice; it’s a cool tool.
Lightroom will save all your edits and allow rollback and every time you save to jpg format, it is always the highest quality with no loss caused by editing (as is always a downside if you directly edit a jpg).
Candid Photos
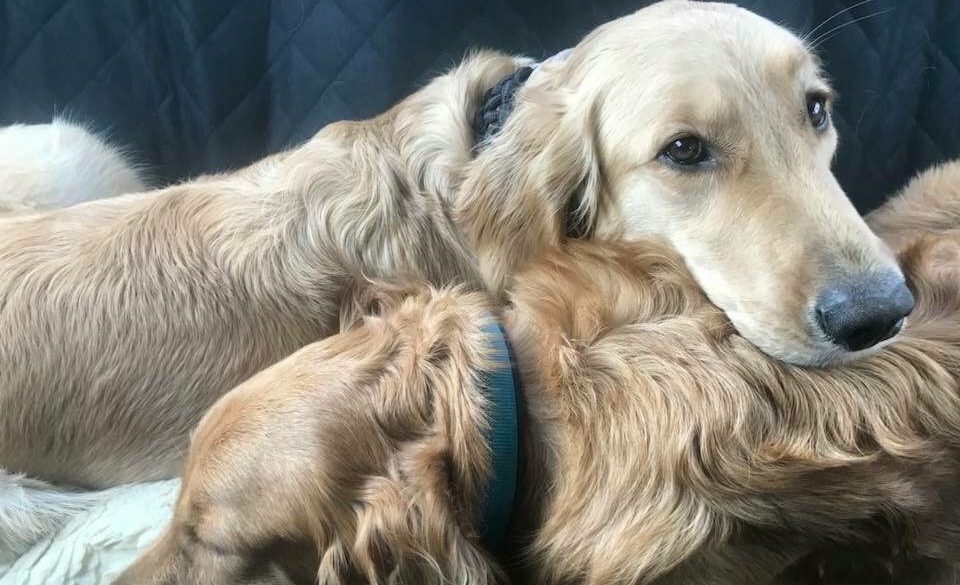
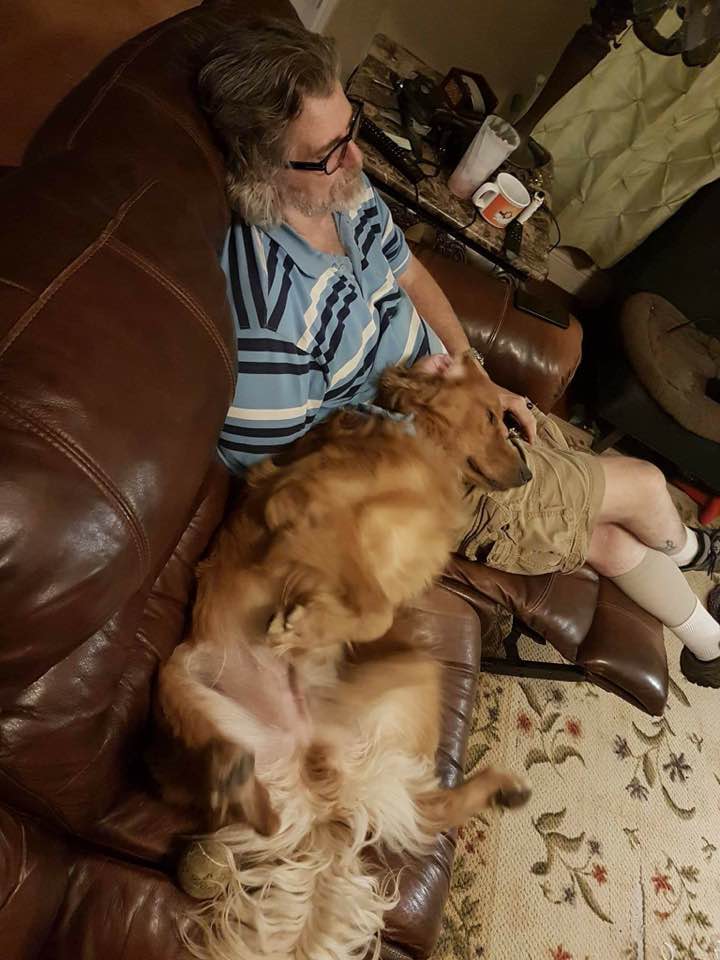
Your fur babies will constantly do something cute; entirely on their own. the challenge is to have a camera at the ready to capture it because it’s typically a fleeting thing and VERY hard to set back up.
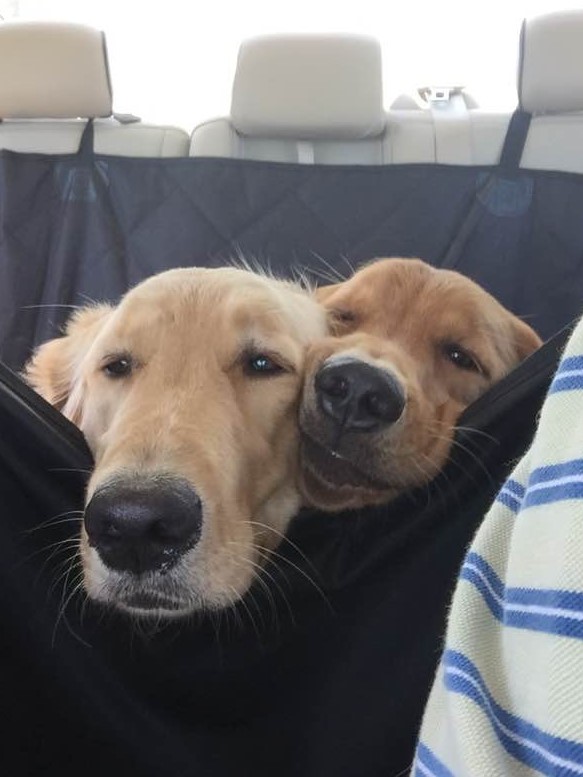
If you cannot keep your DSLR at the ready, this is where your camera phone can be VERY handy. They will be in jpg format which makes them less efficient and less capable in post production editing but at least you will have them. In fact all the examples posted in this section came from our phone cameras. We have MANY more.

My only advice here is to be ready and willing to whip out the camera (or camera phone) and take the pic. Take many.. Take them from where you are first before they see you and move then try to get more angles.
The lighting will often be dicey and you may lose quite a few to darkness or shadows but hopefully you can clean them up later in post production.

Have Fun!

This is the key bit. You love your Golden(s) as we love ours. Unfortunately they will not physically be with you forever so capture what you can now and cherish them for the rest of your life. Enjoy your time with them and take pictures at all stages of life. Post them on Facebook, share them on Instagram, frame them and put them on your wall or simply keep a photo album.
Check out our Picture Gallery. We will try to keep adding more pictures as we go along.
Credits
Clayton Bownds – Friend and Photography enthusiast
Tiffani Nieusma – Friend and Professional Photographer
About the author.
![]()
Bryan Curry loves all dogs in general, especially Golden Retrievers. He has had dogs for all but 6 months of his long life and all have lived happy and much longer than average lives. Bryan and his wife Terri are co-owners of Texas TLC Goldens; a small responsible breeder producing high quality Golden Retriever puppies.